Art On The Go || Introduction to Water Brushes

I picked up my latte and surveyed the cafe for a quiet corner. Spotting a secluded seat by the window, I sat down and laid out my painting tools. Cold pressed watercolor paper, paint palette, and a set of water brushes.
Let’s see — we will start practicing with a simple painting. I removed the cap from the brush, held its water-filled cartridge and squeezed a drop onto a block of yellow paint. Dipping its tip in the wet paint, I made my first stroke.
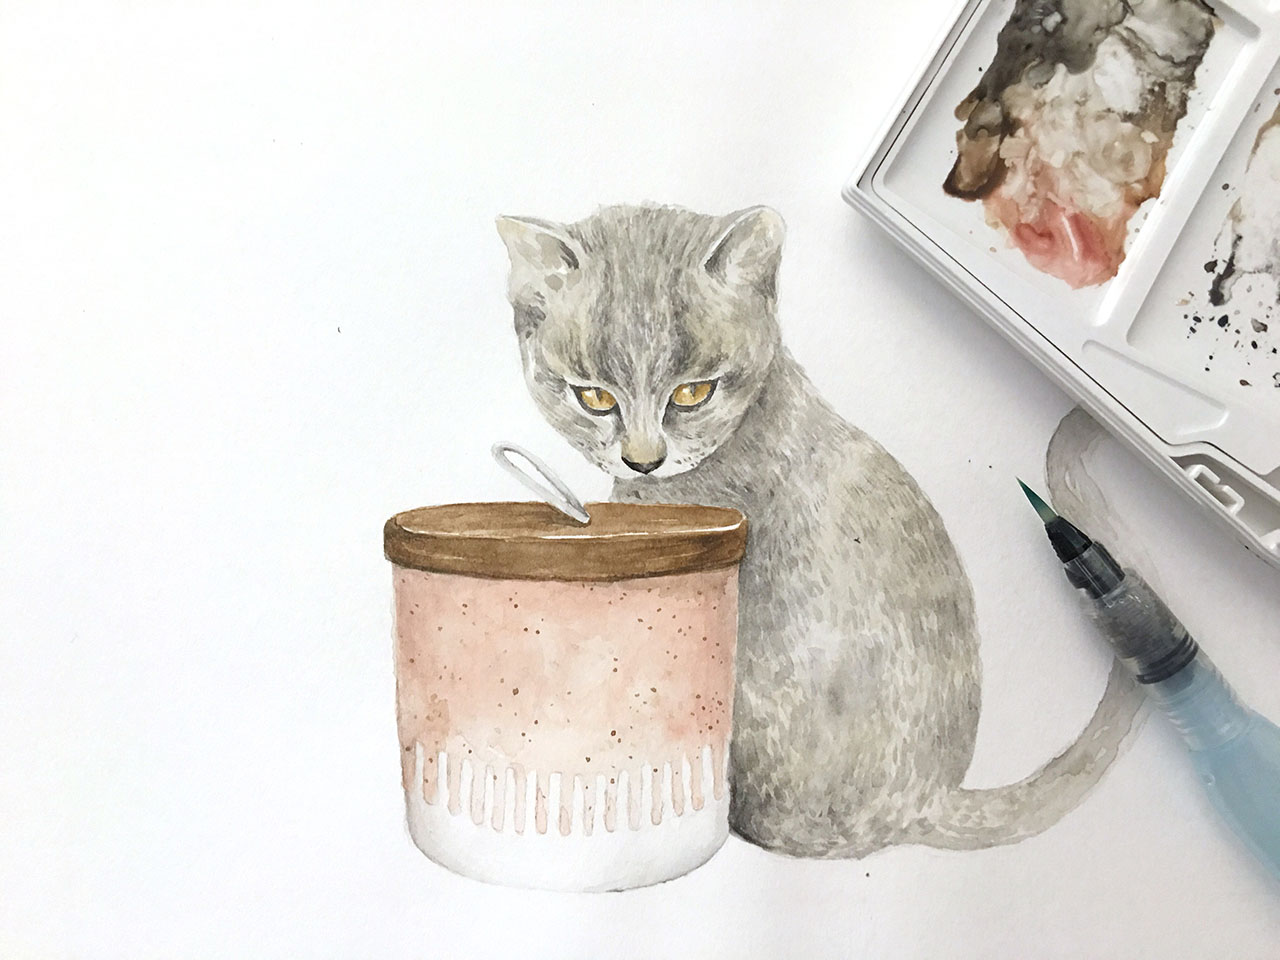
First practice painting of the day — a kitten with a ceramic pot
Ever since I’ve discovered the convenience of water brushes, painting on the go has become a habit. They are designed with a built-in water reservoir, so you don’t need to pack and carry a water supply. It can replace the water you need to wet your paint, mix your colours, make washes and clean your brushes.
The most challenging aspect of using water brushes is that water tends to flow continuously from the reservoir. For some brushes, water may run from the ferrel tip, rather than the bristles themselves. Using the right amount of pressure on the barrel also guarantees the evenness of your washes. It takes some practice to control the water flow, as the intensity of your painting can be affected.
Still life practice with neutral shades.
Below: Painting process of a flower vase. By squeezing out water from the brush’s reservoir, you can create washes and blend colours together.
While water brushes can stream line the process of painting and provide a ton of versatility, they are best used for creating small pieces.


